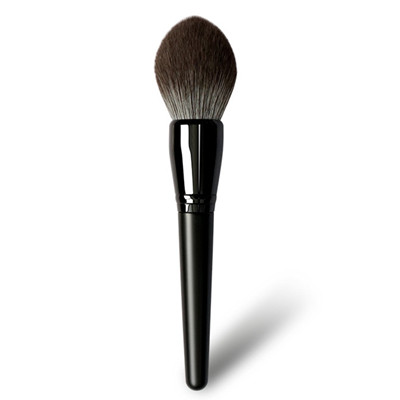
As a professional makeup brush factory, quality is our life. Here we would like to share our inspection methods and standard on the brush assembly, so that customers can fully understand our quality level and be at ease during custom makeup brush OEM from us.
QC of Whole Brush assembly
Inspecting according to:
• Inspection Sheet
•Production Instruction Sheet
•Customers' Approved Samples/Benchmark
1. Dimension
•vernier caliper or ruler: the whole brush length tolerance within±3mm
2. Material
•Visual checking: see if the same as benchmark or samples
3. Appearance
Visually check:
•no apart from brush head
•no ferrule swelling
•no oversized gap between brush head/ferrule/handle, within 0.5mm is acceptable
•scratch on ferrule/handle,no more than 3 scratches within 0.5*0.5*0.2mm is acceptable
4. Performance
Apart or separating:
Clamp brush head or handle with tension meter
• a)¢4.0-10.0mm handle or brush head, slowly pull to 22N and hold 10 seconds, no apart
• b) ≥¢11.5mm handle or brush head, slowly pull to 44N and hold 10 seconds, no apart
Fading:
1) Tie brush heads with cotton thread and soak into a transparent cup with 70 ℃~ 80 ℃ warm water for 3-5 minutes to see if any fading.
2)Tie brush heads with cotton thread and rub back and forth 500 times on A4 white paper, no residual color on A4 paper
Glue Dosage
• 8.0-10.0mm, pare the painted handle top and open a “一” slot;
• ≥11.5mm, pare the painted handle top and open a “十” slot
• Glue should be added at 2/3 of ferrule&handle connect/joint, and rotated 360 degree to make the handle evenly glued.


