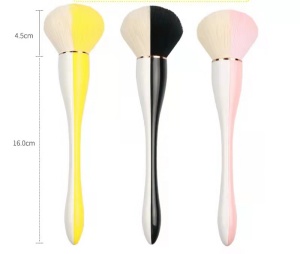
When you unpack a brand new makeup brush,or after some period of use, you may find that the makeup brush smells. You are wondering why it happens and how to get rid of such unpleasant smell. Here, as a professional makeup brush manufacturer specializing custom makeup brushes and OEM makeup brushes, we will explain from two situations: brand new makeup brushes and used makeup brushes:
For brand new makeup brushes:
Why the makeup brush smell?
If the smell comes from bristles, there maybe two reasons: the hair material is natural animal hair, or cheap plastic fiber. If it is natural hair especially goat hair, slight smell is normal, as goat hair itself has strong smell, even if the makeup brush manufacturer has done the deodorization,disinfection and sterilization during production and dyeing process, it is hard to completely get rid of the smell. The smell itself has no harm to human skin. But if you are very sensitive to smells, it will be better to get away from natural hair brushes. If the brush bristles are made of cheap plastic fiber, it will have some plastic smell which is not good to skin, please throw away it.
If the smell comes from glues or painting, slight smell is OK. Good makeup brush manufacturers will use eco-friendly glues and paint, which only has slight smell.But if strong smells, it must be unqualified and is harmful to human body, throw it away.
How to remove the smell?
For slight smell of brand new makeup brushes,if from natural bristles, you can clean the makeup brushes with shampoo or gentle brush cleanser, the smell will disappear after several wash and use. If from glues and painting, just take out the brushes and put them in the air, the smell will disappear soon.
For used makeup brushes:
Why smells:
The brushes smelling weird is not a good sign.
If it smells like mildew from handle, it’s probably because of improper drying process after washing. If you dry makeup brushes with brush head upward, the residual water could cause it to smell. You need to dry them with brush handles upward, so that the water won’t go into the base of the brush causing it to smell and also loosen the glue that holds it together.
If it’s other weird smell,that means there is a build up of bacteria. Your makeup brushes smell because they are infested with bacteria from left over makeup and skin particles in them. When we use our makeup brushes, we allow the build up of oil, left over makeup, dead skin cells and bacteria to build up on the tool. The bacteria will feed off the nutrients on the brush and cause an order through their byproducts.The bacteria and left over makeup not only cause smell, but can result in acne break outs.
How to get rid of the smell:
If the smell is slight, clean the brushes with brush cleanser or anti-bacterial soap. In order to make the smell go away you need to keep your brushes clean. Experts recommend cleaning your makeup brushes once every week at minimum. For more soiled brushes it is recommended more.
If the smell is strong, throw away it and get a new brush, this is your skin, don’t take any risks!